
In this article, I’ll guide you through the process of changing your Apple ID on your iPhone, iPad, and Mac. Your Apple ID serves as your digital passport for accessing Apple’s apps, services, and essential features. There may be occasions when you need to update it, but no need to worry—I’ll provide you with the necessary steps.
Things to remember:
- You can modify Apple IDs linked to non-Apple email domains (e.g., @gmail.com, @hotmail.com, @yahoo.com).
- Changing Apple IDs tied to proprietary domains (e.g., @icloud.com, @me.com, @mac.com) is impossible.
Table of Contents
Difference between switching Apple ID and changing Apple ID
Exploring the distinctions between changing your Apple ID and switching your Apple ID is crucial, as these actions, while involving your Apple account, serve different purposes and carry distinct implications.
- Switching an Apple ID: Switching your Apple ID involves utilizing a different existing ID on your device or within an Apple service. This is commonly done for reasons such as maintaining separate accounts for iCloud, the App Store, iTunes, or other Apple services. Essentially, it’s akin to logging out of one account and logging into another.
- Changing Apple ID: Editing the email linked to your Apple ID involves changing it for reasons such as losing access to your current email, opting for a new primary Apple ID email, or updating your details. This process may also encompass transferring your data, purchases, and subscriptions to the new email address.
How to change Apple ID to different email address
While you can’t change your Apple ID directly through the Mac Settings app, you can achieve this using a web browser on your Mac. These steps are applicable not only to Mac but also to your iPhone, Android device, or Windows PC.
- Open a web browser you like.
- Go to appleid.apple.com → Click Sign In.
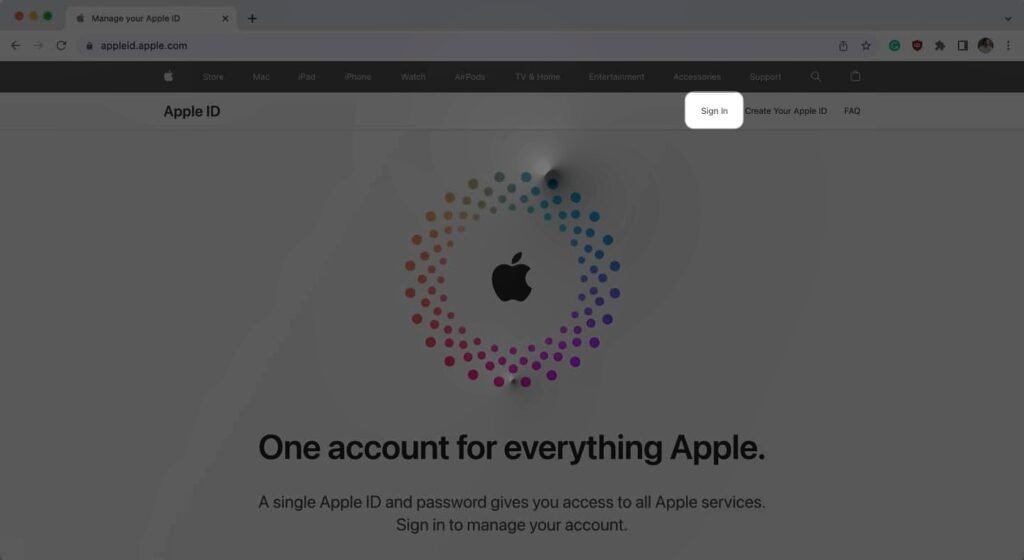
- Use your Apple ID and Password to sign in.

- Head to Sign-In and Security → Select Pick Apple ID

- Type your new Apple ID → Choose Change Apple ID.

- Enter your current Apple ID password → Hit Continue.

- Type the OTP from your new Apple ID → Select Continue.

And there you have it! Your Apple ID has been successfully updated. If you
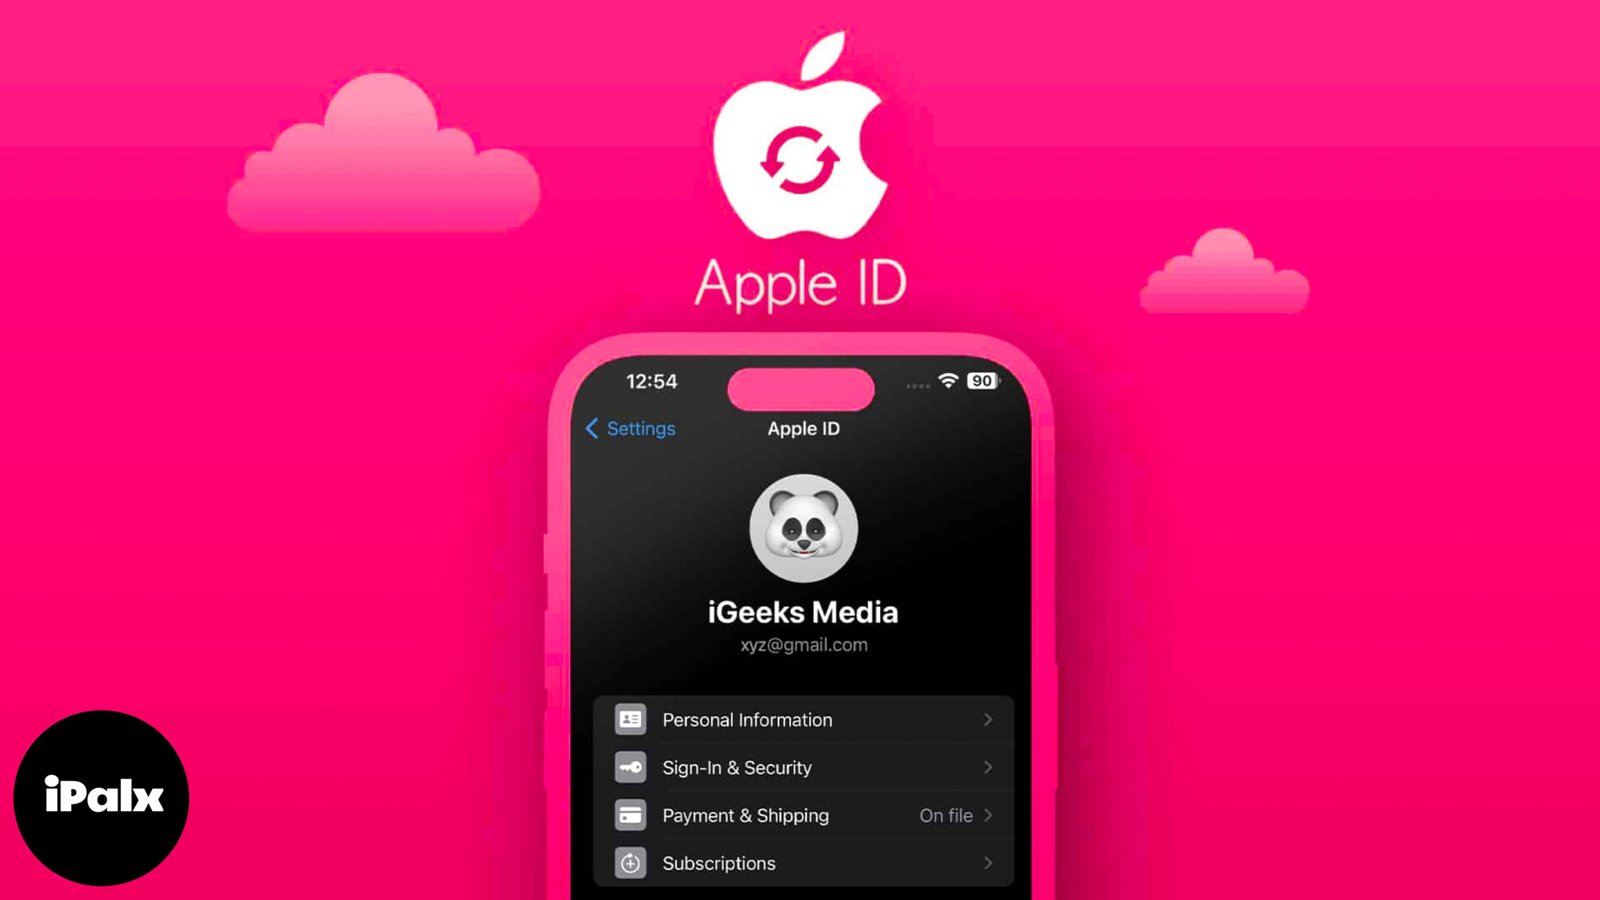
How to update Apple ID on iPhone and iPad
Changing your Apple ID on your iPhone or iPad is no biggie. Follow the steps below diligently:
- Navigate to the Settings app.
- Go to your Contact Card → Choose Sign-In & Security → Click Edit next to Email & Phone Numbers.

- Tap your Apple ID to remove it → Press the (-) button → Confirm by tapping Delete.

- Tap Choose Another Email from the prompt displayed → Enter your iPhone’s Passcode.

- Type in your new email address → Tap Continue → Use the OTP from your email to confirm.

FAQs
What happens if you change your Apple ID on your iPhone?
When you change your Apple ID to a different email address, you don’t lose any data like synced contacts, purchases, photos, or other information. Only you will use the new email to sign in to your Apple ID and receive the alerts or verification codes on that address.
Can we merge two Apple IDs?
No, Apple does not offer the option to merge two Apple IDs. However, you can use Family Sharing to share purchases between different Apple IDs.
Can I have two Apple IDs on my Mac?
Yes, you can set up different user accounts on your Mac to sign in to several Apple IDs.
Can I have multiple Apple IDs?
You can link one email address to one Apple ID. Therefore, you can create several Apple IDs if you have multiple email addresses.
How do I remove another Apple ID from my Mac?
Log in to the user account whose Apple ID you want to remove. Then go to Apple Logo → System Settings → Apple ID card → Click Sign Out. Now, enter your password and confirm your choice.
Change your existing Apple ID ♻
Your Apple ID is like a unique key that unlocks everything Apple offers, such as Apple Music, Apple Arcade, and Apple TV+. Without this key, you can’t fully enjoy what Apple offers. I hope you have easily changed your Apple ID with the abovementioned steps. If you have any other problems with your Apple ID, please tell me in the comments, and I’ll do my best to assist you.
Read more:
iPhone 14 Pro Max vs Galaxy S23 Ultra: A competition to be the best


One thought on “Changing Apple ID on iPhone, iPad, and Mac: A Step-by-Step Guide”